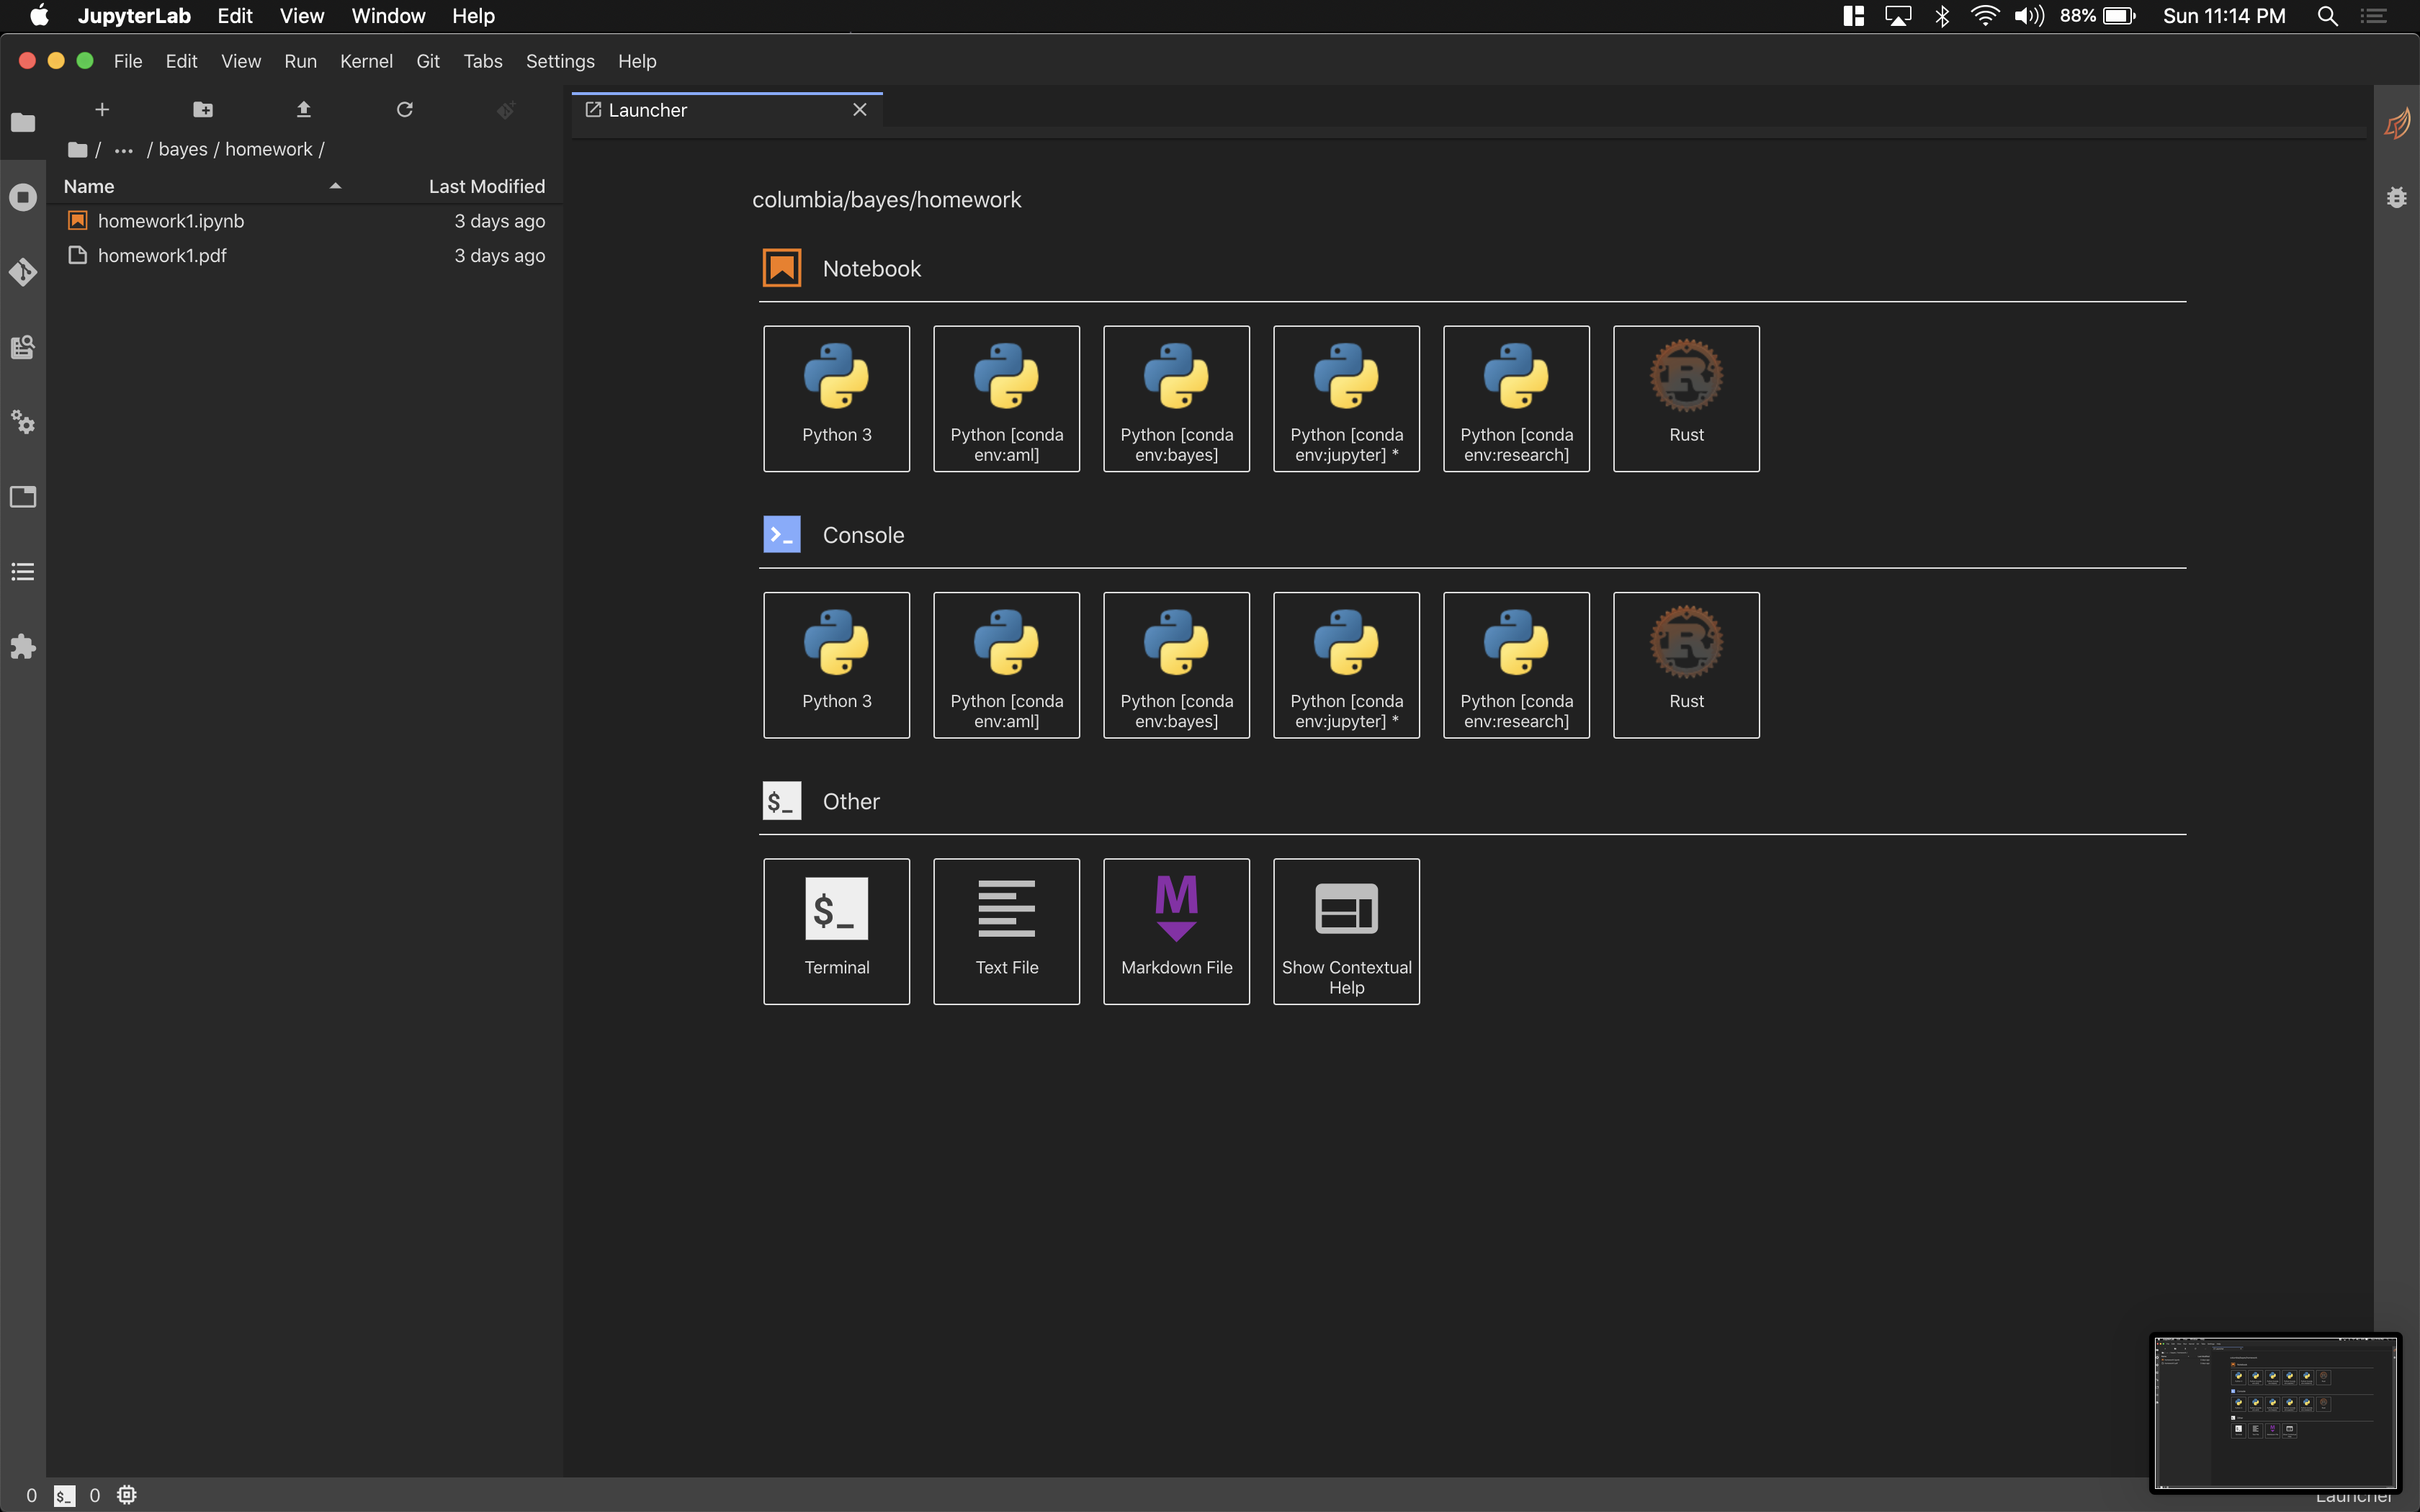
How to Create a Jupyter Native App on Mac OS X

Overview#
When working with data, it’s common to use the Jupyter computing environment as a playground to analyze and visualize data. The ecosystem around Project Jupyter has grown dramatically over the years, making it one of the best data science platforms available. However, often in the case of working with data, a user has many windows open, whether looking on Stack Overflow for debugging pandas or python code or considering external research about your dataset. As a result, using Jupyter through a browser tends to hide away the environment within all the browser tabs one has open. For me, I find this irritating at the very least. So I decided to wrap my Jupyter notebook into a native app and be sure that it’s available at startup.
Setup#
In order to match my setup, you’ll need a few prerequisites. I’ve listed them below:
- Jupyter Notebook Environment that’s setup and running
- A working npm installation
- MacOS
Creating a Jupyter Launch Script#
We want to summarize the script to get Jupyter process running in a single script so we can modify it and test it later. Personally, I find it useful to have a folder in my home directory called .bin which just contains scripts / commands I use for myself. In this directory, I’ll place a file jupyter_startup.sh. In that file, place whatever you need to start Jupyter regularly. For example, mine looks something like this:
#!/usr/local/bin/zsh

PATH="/Users/rahul/opt/miniconda3/envs/jupyter/bin:$PATH"
eval "$(conda shell.bash hook)"
conda activate jupyter

cd ~ && /Users/rahul/opt/miniconda3/envs/jupyter/bin/jupyter lab --port 8888 --no-browser
Setting Up Jupyter as a Launch Process#
The goal here is to get Jupyter to be launched whenever you log into your. For this we’re going to hook into launchd , which is an existing process that runs on startup of the Mac OS operating system. You can read more about it here: A launchd Tutorial.
For the purposes of Jupyter, we’re going to create a new User Agent by specifying an XML configuration in ~/Library/LaunchAgents/ . This configuration is read by launchd to determine what processes to kick off when you log in.
Create a file in your ~/Library/LaunchAgents/ called Jupyter.plist or something similar. Ultimately the name doesn’t matter, but you should use something that’ll be recognizable. In that file, place the following:
<?xml version="1.0" encoding="UTF-8"?>
<!DOCTYPE plist PUBLIC "-//Apple Computer//DTD PLIST 1.0//EN" "http://www.apple.com/DTDs/PropertyList-1.0.dtd">
<plist version="1.0">
<dict>
   <key>KeepAlive</key>
      <true />
   <key>Label</key>
      <string>jupyter-startup</string>
   <key>ProgramArguments</key>
   <array>
      <string>/Users/USERNAME/.bin/jupyter_startup.sh</string>
   </array>
   <key>RunAtLoad</key>
      <true/>
   <key>StandardOutPath</key>
      <string>/Users/USERNAME/Library/Logs/jupyter.log</string>
   <key>StandardErrorPath</key>
      <string>/Users/USERNAME/Library/Logs/jupyter.err</string>
</dict>
</plist>
Note the “ProgramArguments” key is what determines what script gets launched. If you deviate from the file path I used, you’ll need to replace that part yourself.
Create an “App” to wrap Jupyter#
Now we’re going to create an “app” that exists to wrap the Jupyter environment. To do this, we’re going to use a nifty little tool called Nativefier, which was made by (Jia Hao). You can find the project here: GitHub - jiahaog/nativefier: Make any web page a desktop application. There’s good enough installation guideline there, so I’ll defer to his instructions. Once you have the tool installed, go on to the next step.
Now that it’s installed, startup your Jupyter environment and run the nativefier command: nativefier http://localhost:8888 --name Jupyter .
As a bonus, you can go a bit further and tweak the presentation of the UI a bit. If you’re like me and hate the top chrome bar that get’s added on MacOS, you can inject some CSS when creating your Nativefier App. I like to make a more native feel so I made a css file called site.css:
/* site.css */

#jp-top-panel {
  -webkit-app-region: drag;
  height: 36px !important;
  padding-top: 5px;
}
/* but any buttons inside the header shouldn't be draggable */

#jp-main-content-panel {
  top: 36px !important;
}

#jp-MainMenu {
  -webkit-app-region: no-drag;
}

.p-MenuBar-item {
  border-radius: 10px;
}

#jp-MainLogo {
  visibility: hidden;
  margin-left: 40px;
}
Then when you create your app using Nativefier, use this modified command:
nativefier --inject site.css --title-bar-style 'hiddenInset' http://localhost:8888 -n Jupyter